Content Studio Quick Starter Guide
Content Studio is a powerful tool capable of posting to multiple accounts at once. Unlike other tools like Hootsuite and Buffer however, Content Studio is capable of far more, which you will discover as you use it. Leading me to recommend it most highly. If you havn’t got a copy you can get a lifetime copy of Content Studio which is currently on sale until the end of February 2026 here! Their training is awesome, and they can take you through everything you need. I recommend using Content Studio with a computer, however there’s also an app you can use on the go!
At the most basic level, it is a scheduling tool allowing you to schedule posts on accounts to ensure quick and easy operation of your business without wasting time fiddling between social media accounts, from the comfort of a fast, easy to use and reliable control panel.
Content Studio will allow you to connect to multiple account types, including Facebook Pages/Groups. Posting as the Pages themselves, or you to the specific groups. Twitter, LinkedIn, Pinterest, Tumblr, Instagram and Google My Business.
It’s operation is fast, smooth and easy, allowing anyone to use it effectively from day 1.
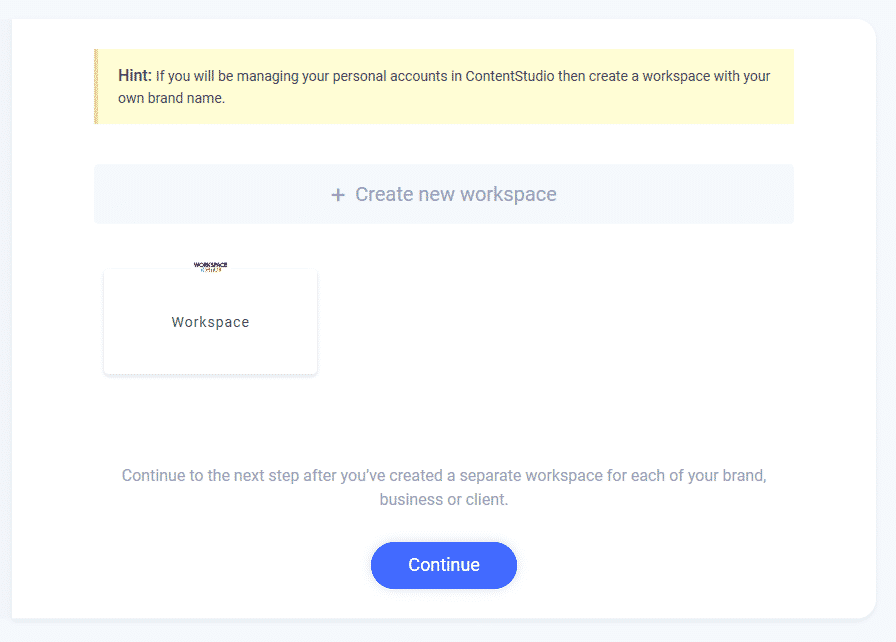
Once you have an account and have logged in, you make your workspace. This is the space of your company/business. You don’t need to put too much thought into this at the moment.
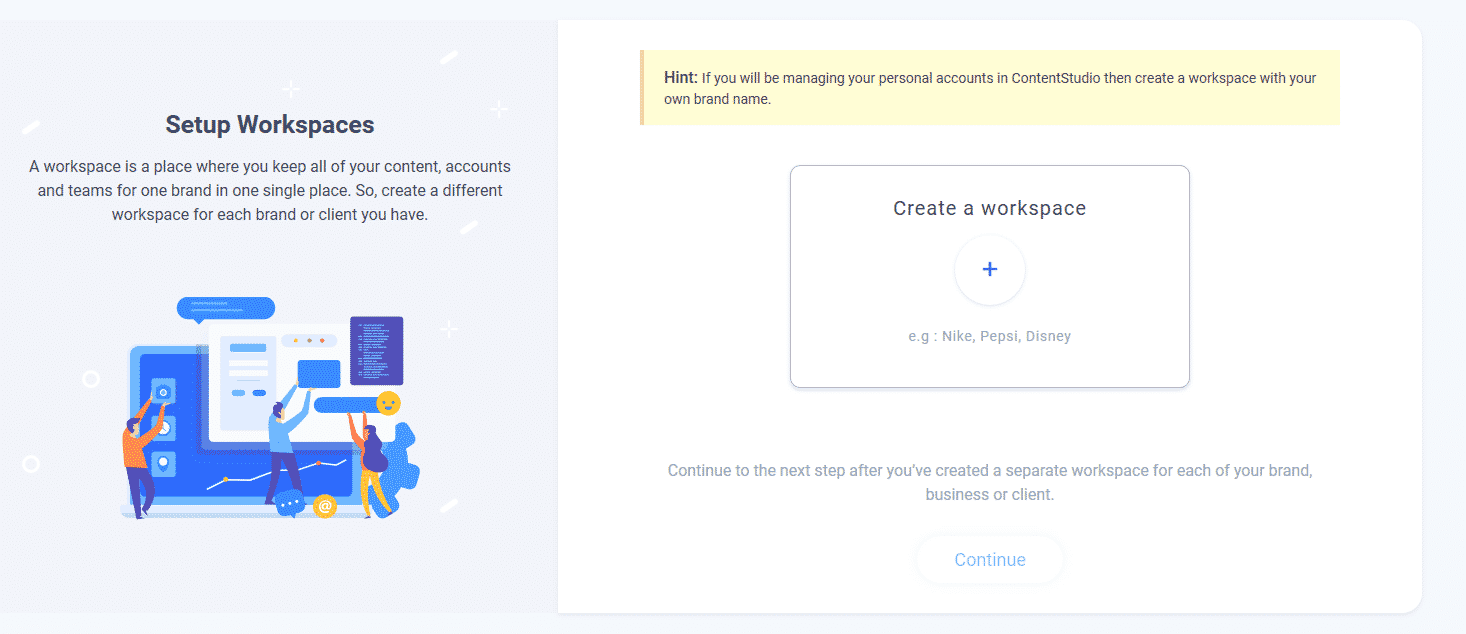
You can add or upload a branding logo of your choice. Then you hit the continue button when you’re ready to go!
You’ll be greeted with a screen with a search bar. Ignore this for now. You’ll want to add your social media. If you’re here because of my guide, you will have the social media I suggested ready to go.
The Social Media I recommend are:
- Facebook – For their marketing potential with Facebook Ads
- LinkedIn – For it’s business integration potential.
- Twitter – Because despite the fact I hate it, it can be a good tool for businesses. Just don’t buy ads.
- Instagram – Much the same reason as Twitter.
- Pinterest – Because I’ve personally found it surprisingly effective.
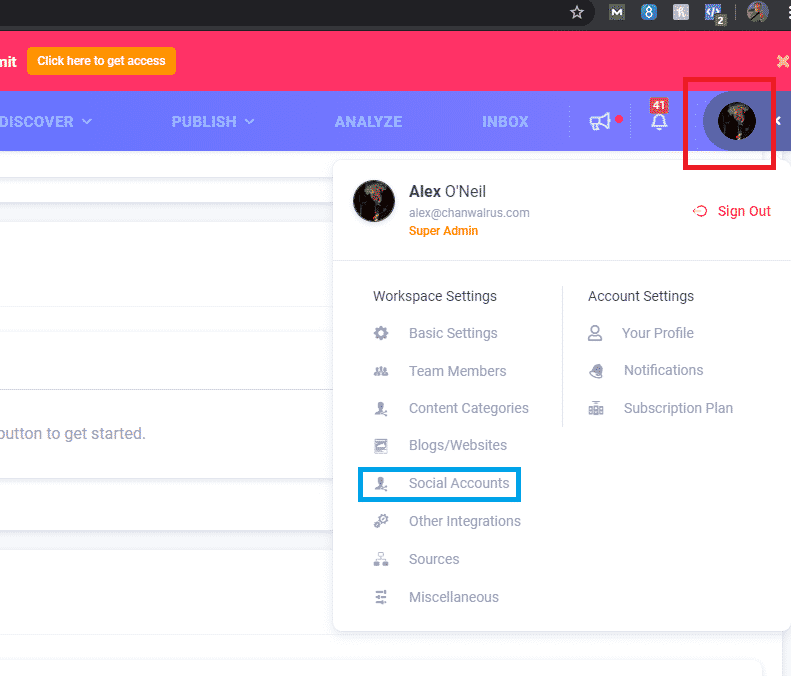
Addition of the social media is easy. Just go to your profile in the top right hand corner of the screen (Red Square) and click on it. Then go to Social Accounts.
This will bring up an easy to use section where you can add all your social accounts easily from the control panel. Adding accounts requires you accept Content Studio’s integration rules with each of the Social Media sites you work with. See Below for an example in which I set up a connection with Facebook. It’s simple, effective and easy once you’re integrated. Once you’ve selected your chosen Social Media, scroll down and press the Save Button. It will then be added to your Social Media Accounts on the Content Studio Platform.

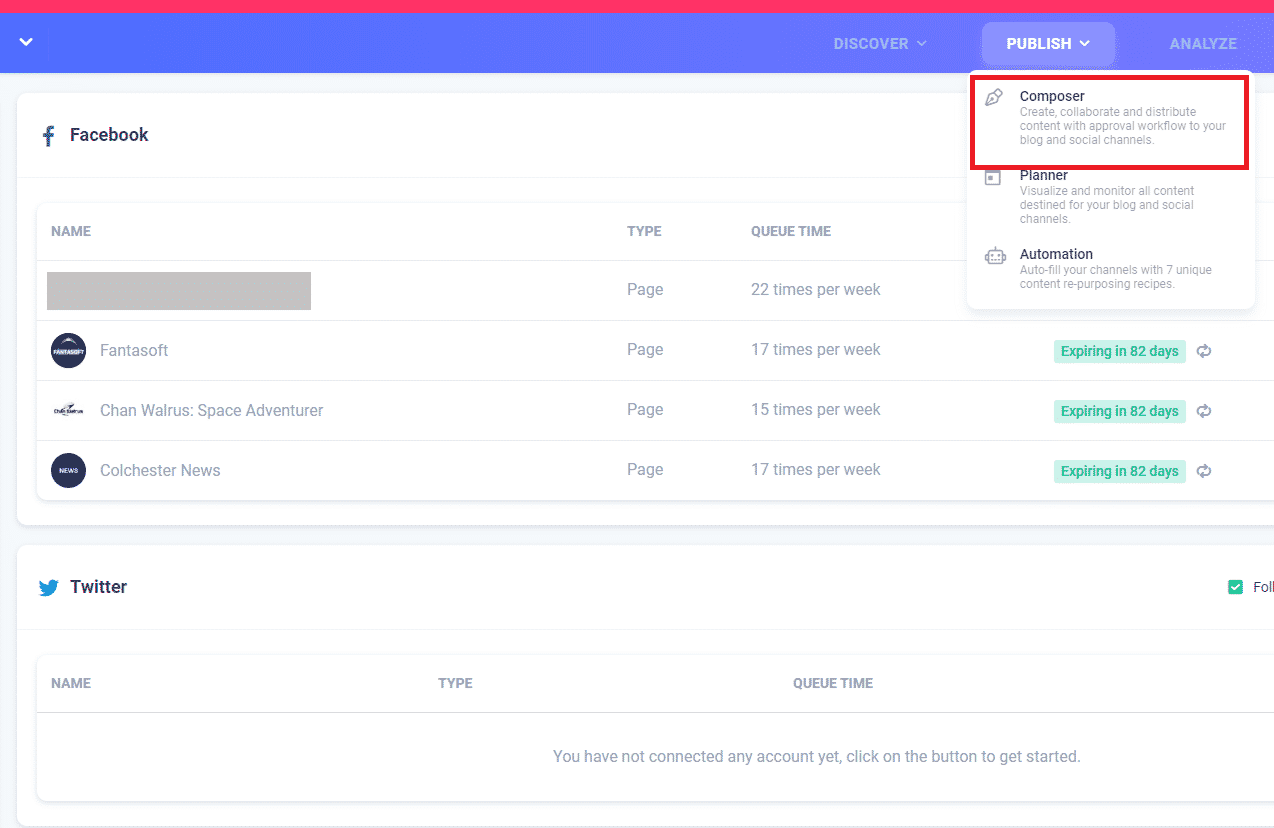
Now all we need to do in order to get posting is to go to Publish in the top Menu. This is where we will find the tools that will make life easier for you.
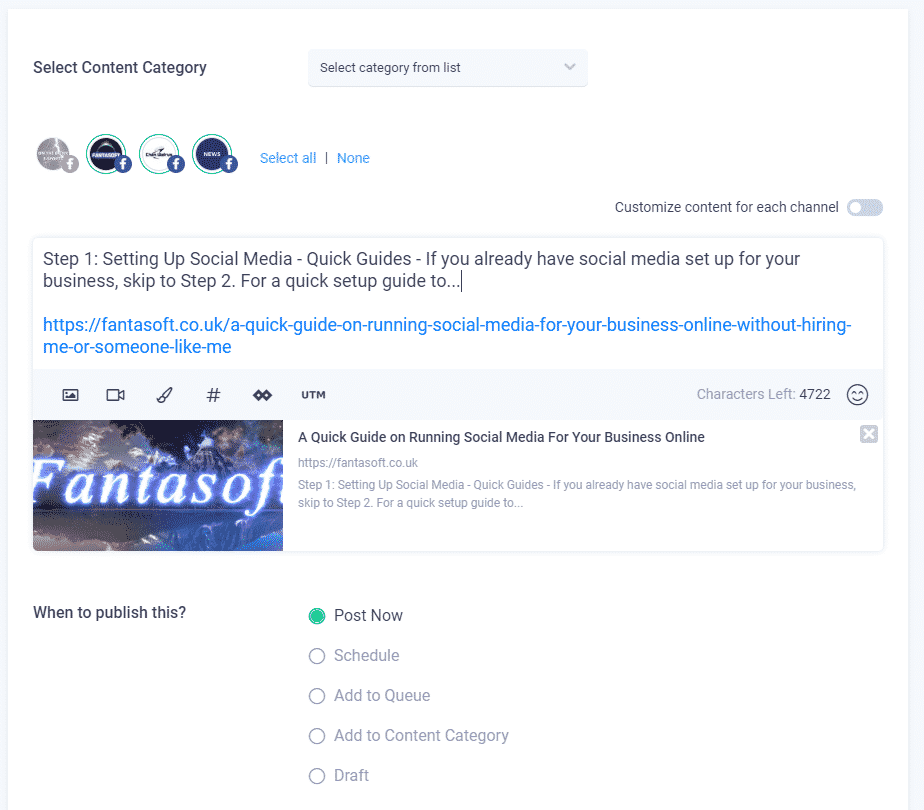
Choose Composer for now, and then select Social Media Post. You should then have an option to post out to either single or multiple social media accounts at once.
I mainly use Content Studio for Facebook Posts at the moment, however you will have the options to use it for all the social media you have signed up with. You can then tailor your posts quickly and easily for each of the social media in question, or you can just post out to all of them at once. The advantages of this are huge, as it allows you to not only save time opening the Social Media websites in your browser, but it allows you to post out to everything from one easy location.
In my demonstration, I have a post that’s ready to go out. I can choose to customise the post for each separate channel or just keep them uniform. I can also choose to post now, or schedule for later. (Avoiding the more complicated ones) or save it as a draft.
There’s a lot of stuff you can do with this. Let’s say you need something out immediately. From evening meals and special deals to data breeches and new product features, you can get them out.
If you want to plan a week in advance, you can do this easily with scheduling. That way you can spend time focusing on running your business, knowing Content Studio will make sure your posts all go out at the correct time.
There’s a lot more you can do as well, such as setting up evergreen posts to automatically go out in a cycle forever, ensuring that your Social Media will always be safe.
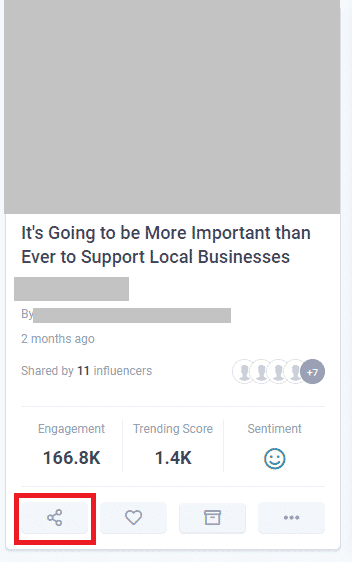
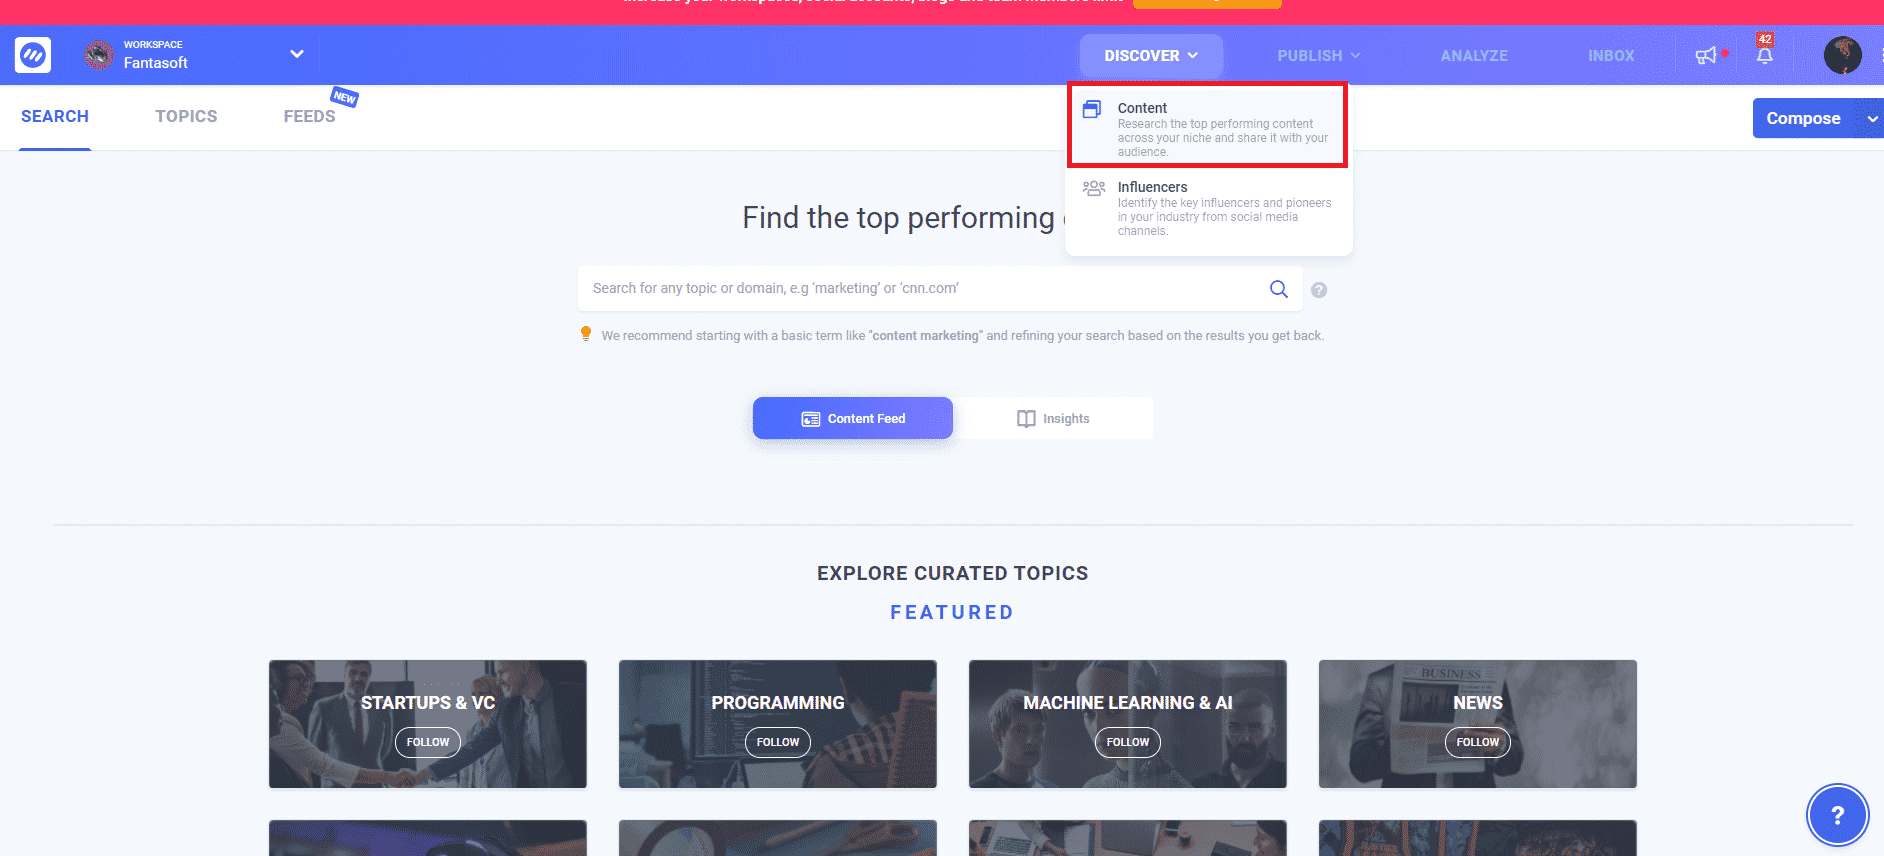
For a great example of one of the fantastic tools within Content Studio, go to Discover in the top bar and click Content (Red Square). This will bring up the search bar. Try typing a few things in there and hit return, see what comes up. You can use this to find popular content to share on your Social Media. Find content which has high engagement and shares for the best results.
This is a great one. The content is pretty recent, which is usually good for anything tech related. As I do business related work, it works really well for me. It’s been shared by 11 Influencers. (These are people who are big in the field, according to the AI working behind Content Studio) The post has an exceptional level of engagement. (I don’t really care too much about Trending Score, however it also has a positive sentiment.
These are all aspects that make up a good post. It fits my business, it is popular, it’s doing really well and it’s relatively recent. The post is worth sharing. I go to the share function, which will easily allow me to share it, or schedule it on my social media. Making life much easier.
I really love this feature as it allows me to maximise my ability to get a good solid post out, quickly and effectively, with minimal effort, without having to search the internet for a million years. This will help you save time. You don’t even need to leave the platform, which basically makes life a breeze.
There are a tonne of great features included in Content Studio. I recommend having a play around just getting to grips with the software. I’m sure you will love it as much as I do!
Get Your Content Studio Lifetime Account Here
This product is currently on sale until the end ofFebruary 2026!
